Introduction
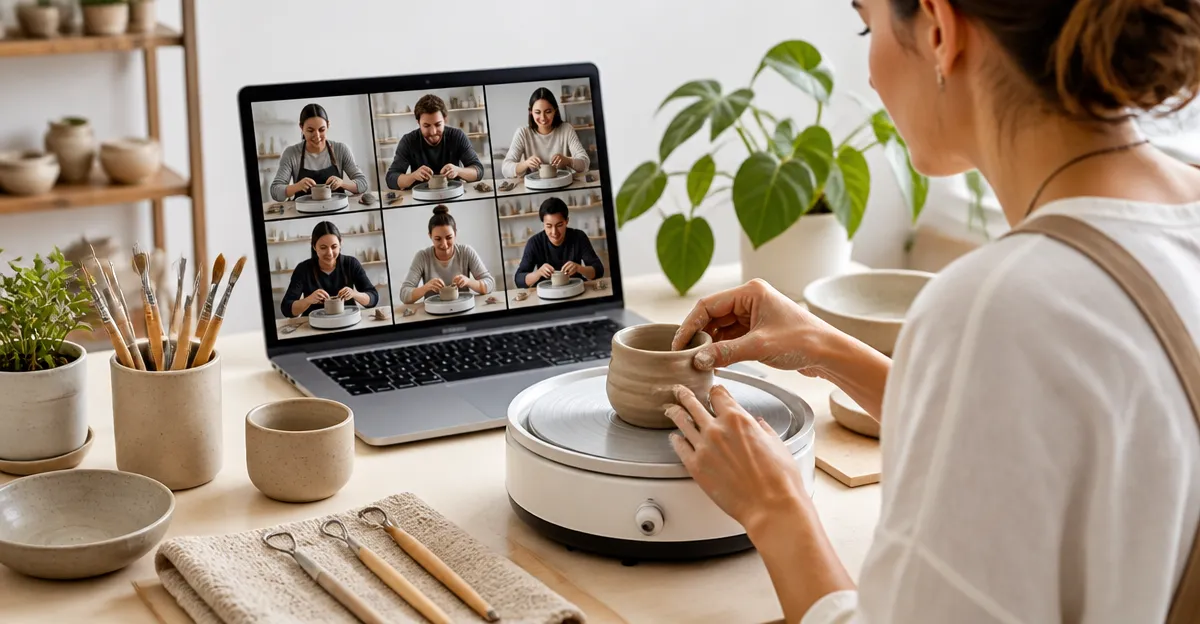
This guide explains how to design, launch, and profit from virtual mini‑wheel pottery workshops. Readers will learn to set up a digital classroom, choose appropriate equipment, craft lesson plans, and manage live sessions. The information is valuable for educators, craft entrepreneurs, and hobbyists who want to monetize their pottery skills while reaching a broader audience.
What You’ll Need
- A reliable internet connection and webcam
- Video‑conference platform (Zoom, Google Meet, etc.)
- Mini pottery wheel kit – see product recommendations below
- Air‑dry clay, paints, and basic sculpting tools
- Workspace with good lighting and a clean, flat surface
Step 1: Set Up Your Virtual Classroom
Begin by selecting a video‑conference service that supports screen sharing, breakout rooms, and recording. Create a recurring meeting link and share it with participants well in advance. Test audio and video quality, and arrange a dedicated background that reflects a pottery studio to enhance immersion. A quiet environment reduces distractions and improves student focus.
Step 2: Choose the Right Mini Wheel
Choosing a wheel that balances power, size, and ease of use is critical for online instruction. For beginners and younger students, the National Geographic Kids Pottery Wheel Kit offers a 2‑speed electric motor, integrated arm tools, and a complete set of accessories for $69.99 with a 4.5‑star rating from 2,020 reviews. Its kid‑friendly instructions and dual‑hand design simplify demonstrations.
For tweens or adults seeking a compact, USB‑powered option, the Make It Real Mini Pottery Studio Kit provides a 26‑piece set, centering tool, and USB power for $19.99, earning a 4.4‑star rating from 907 reviews. Its small footprint makes it ideal for home studios where space is limited.
When teaching a mixed‑age group, the Alldeer Mini Pottery Wheel Kit delivers a 6‑inch metal turntable, 0‑300 RPM speed control, and a splash tray for $79.99. Reviewers praise its smooth operation and comprehensive tool set, reflected in a 4.3‑star rating from 253 users.
For instructors who prefer a vibrant design and quiet operation, the VEVOR Mini Pottery Wheel Kit (Green) offers two turntables (2.6 in and 3.9 in), speed adjustment up to 320 RPM, and a noise level below 55 dB for $33.21. Its 4.2‑star rating from 160 reviews indicates solid performance at a budget price.
Another VEVOR model, the VEVOR Mini Pottery Wheel Kit (Standard), features a durable aluminum alloy turntable, brushless motor, and removable ABS basin for $37.90, also rated 4.2 stars. The dual‑size turntables allow creators to experiment with different vessel dimensions.
Each wheel includes essential tools, but instructors should match the wheel’s speed range and size to the skill level of their participants. Higher RPM and larger turntables benefit older students, while lower speeds and smaller plates are safer for younger children.
Step 3: Prepare Materials and Demonstration Space
Unpack the chosen wheel kit and arrange the tools within arm’s reach. Lay down a waterproof mat or the kit’s splash tray to contain clay and water. Pre‑measure 2‑pound blocks of air‑dry clay (as supplied in the National Geographic kit) or use the three blocks included in the Alldeer set. Have paints, brushes, and aprons ready for the finishing stage.
Record a short “setup” video that shows how to assemble the wheel, attach the basin, and load the clay. This video can be posted as a pre‑class resource, allowing students to prepare their workstations before the live session.
Step 4: Design Engaging Lesson Plans
Structure each class into three segments: demonstration, guided practice, and critique. Begin with a 10‑minute live demonstration of centering clay using the wheel’s arm tools (National Geographic) or the innovative centering tool (Make It Real). Explain the physics of centrifugal force and how speed adjustments affect clay behavior.
Next, assign a simple project—such as a miniature bowl or pinch pot—using the step‑by‑step guide provided in the kit’s learning manual. Encourage participants to share their screens or hold their wheels up to the camera for real‑time feedback.
Conclude with a 15‑minute critique where students showcase their dried pieces, discuss challenges, and receive constructive comments. Offer optional “homework” projects that build on the day’s skills, reinforcing retention and encouraging repeat enrollment.
Step 5: Conduct Live Demonstrations and Manage Interaction
During the live session, keep the camera angled to capture both the wheel surface and your hands. Use a secondary webcam or phone to provide a close‑up of the clay’s texture. Speak clearly, describing each motion—e.g., “increase speed to medium, apply gentle pressure to open the center.”
Utilize breakout rooms for small‑group practice, allowing participants to ask questions privately. Assign a teaching assistant to monitor the chat and flag technical issues. Record the session for later review; many students appreciate the ability to replay complex steps.
Finally, integrate a short poll or quiz to assess comprehension. Offer a discount code for the next class, turning a satisfied participant into a repeat customer.
Tips & Pro Tips
- Test wheel speed settings before each class; a consistent 150‑200 RPM works well for most beginner bowls.
- Keep a spare set of arm tools or carving implements nearby; beginners often misplace small pieces.
- Use natural light or a ring light to reduce shadows on the wheel surface.
- Encourage students to label their finished pieces with the date and class number for portfolio tracking.
- Offer a “materials add‑on” package for students who need extra clay—many reviewers recommend purchasing additional clay for the National Geographic kit.
Troubleshooting
| Problem | Possible Cause | Solution |
|---|---|---|
| Wheel wobbles or stalls | Uneven surface or debris in the basin | Clean the turntable, ensure the basin is level, and re‑center the clay. |
| Clay sticks to the wheel | Excess moisture or low speed | Dry the clay slightly between attempts, increase RPM, and lightly dust the surface with talc. |
| Audio lag during live demo | Insufficient bandwidth | Switch to a wired Ethernet connection or lower video resolution. |
Conclusion
By following these steps, instructors can create professional, profitable online pottery workshops that cater to children, teens, and adults. Selecting the appropriate mini wheel—whether the feature‑rich National Geographic kit, the portable Make It Real studio, or the versatile VEVOR models—ensures smooth demonstrations and satisfied students. Consistent lesson structure, clear communication, and thoughtful troubleshooting will build a loyal community and generate recurring revenue.
Products Mentioned in This Guide
Frequently Asked Questions
What equipment do I need to teach mini‑wheel pottery classes online?
A reliable internet connection, webcam, video‑conference platform, a mini pottery wheel kit, air‑dry clay, paints, basic tools, and a well‑lit, clean workspace.
How do I set up a virtual classroom for pottery workshops?
Choose a platform with screen sharing, breakout rooms, and recording, create a recurring meeting link, test audio/video, and use a studio‑like background to boost immersion.
Can I monetize my mini‑wheel pottery workshops?
Yes—set a fee per session, offer package deals, sell kits or supplies, and consider recording lessons for on‑demand sales.
What teaching methods keep online pottery students engaged?
Use live demonstrations, breakout rooms for small‑group practice, real‑time feedback, and interactive Q&A to maintain participation.
Should I record my pottery classes, and how can the recordings be used?
Recording allows students to review techniques, and you can repurpose the videos as paid tutorials or marketing content.