How to Teach Pottery Classes in Small Spaces: Space-Saving Setups, Lesson Plans & Essential Equipment
Introduction
In this guide one will learn how to transform a modest studio or even a home kitchen into an effective pottery classroom. The reader will discover space-saving layouts, step-by-step lesson structures, and the essential equipment that maximises productivity without sacrificing safety or creativity. By following these instructions an instructor can deliver professional-grade instruction while keeping costs low and the environment tidy.
What You’ll Need
- Basic hand-building tools – such as the Blisstime 18-Piece Clay Sculpting Tools
- Expanded tool set for advanced techniques – the Blisstime 42-Piece Pottery Tool Kit
- Compact storage solution – Amrules 27-Piece Clay Sculpting Kit
- Protective work surface – LEYCLUB Pottery Tablecloth
- Air-dry clay for demonstrations – Crayola Air Dry Clay 5 lb
Step-by-Step Instructions
1. Optimize the Workspace Layout
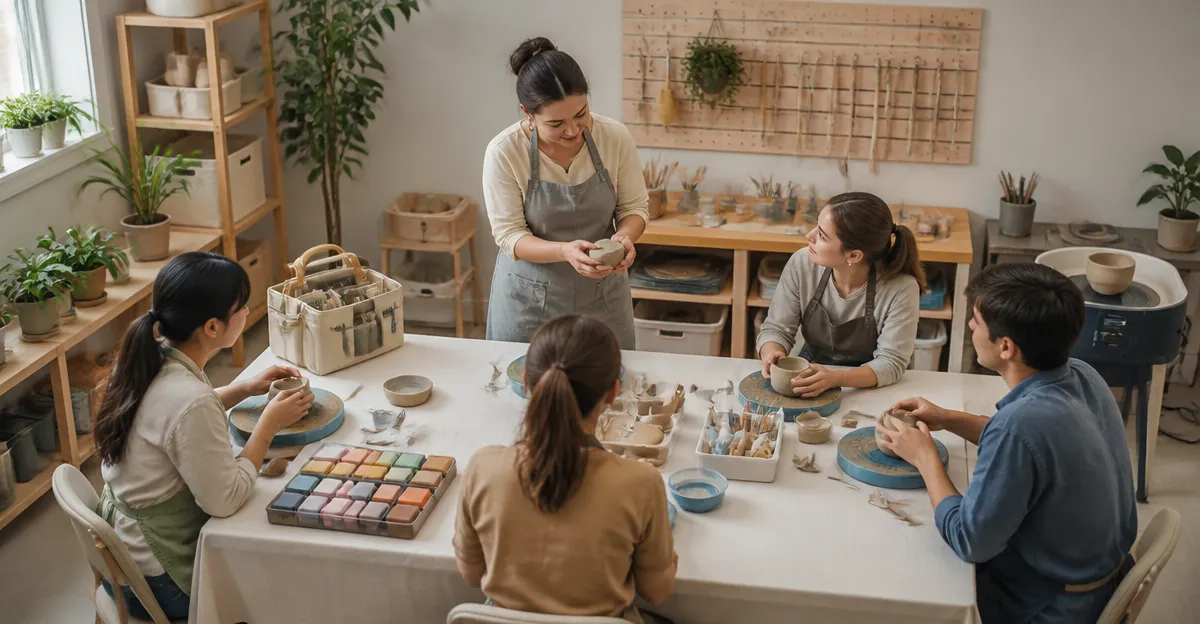
Begin by measuring the available floor area and drawing a simple floor plan on paper. Allocate three zones: a wet-work zone for wedging and shaping, a dry-work zone for finishing, and a storage zone for tools. Because the space is limited, vertical storage is essential. Install a wall-mounted pegboard to hang the Blisstime 18-Piece Clay Sculpting Tools and the larger Blisstime 42-Piece Pottery Tool Kit. The double-ended design of these tools reduces the number of individual pieces needed, freeing drawer space. The sturdy zip-up storage bag included with each kit can be placed under a bench for quick access.
The LEYCLUB Pottery Tablecloth should be stretched over the wet-work zone. Its linen‑cotton blend absorbs excess moisture, preventing clay from sticking to the underlying table and protecting the surface from scratches.
2. Prepare Materials and Demonstration Clay
For beginner classes it is advisable to use air-dry clay because it eliminates the need for a kiln. The Crayola Air Dry Clay 5 lb provides a generous supply that lasts for multiple sessions. Its soft texture allows students to experience coil, slab, and pinch techniques without excessive force. The bulk size reduces per-student cost and ensures consistent texture across the class.
Condition the clay by kneading it on the tablecloth until it reaches a uniform pliability. This step demonstrates proper wedging and teaches students how to eliminate air bubbles, which are a common cause of cracking.
3. Conduct the Lesson Plan
Structure each class into three segments: demonstration (15 minutes), guided practice (30 minutes), and independent creation (45 minutes). During the demonstration use the Amrules 27-Piece Clay Sculpting Kit to illustrate a range of effects such as texturing, scoring, and fine carving. The kit includes rubber pens, wooden stylus, and metal needles that produce distinct marks, enabling students to see the possibilities of each tool.
While students work, circulate the room and suggest alternative tools from the Blisstime 42-Piece Pottery Tool Kit. For example, the stainless-steel rib is ideal for smoothing large surfaces, whereas the wooden ball stylus can be used for gentle embossing. Explain why the material of each tool (steel for durability, wood for comfort) matters for different techniques.
4. Manage Clean-Up and Storage
After the class, instruct students to place used tools back into their zip-up bags. The large-capacity bag that accompanies the Blisstime 18-Piece Clay Sculpting Tools can hold the entire set, preventing loss and protecting the sharp metal tips. Wipe the tablecloth with a damp cloth; because the fabric is machine washable, it can be laundered weekly without loss of shape.
Store the air-dry clay in its resealable bucket, and if any clay remains unused, place it in an airtight container to maintain moisture. This practice extends the life of the material for future classes.
Tips & Pro Tips
- Use a rolling pin on the tablecloth to achieve uniform slab thickness; the non-slip surface ensures consistent pressure.
- Label each tool bag with its contents using a permanent marker; this speeds up set-up for subsequent sessions.
- When demonstrating fine carving, hold the tool at a 45-degree angle; the double-ended design of the Blisstime 18-Piece set allows quick switching between a pointed and a flat tip.
- Keep a small spray bottle of water nearby to re-moisten dry edges of clay without over-softening the entire piece.
Troubleshooting
Problem: Clay sticks to the tablecloth and tears.
Solution: Lightly dust the work surface with cornstarch before placing the clay. The high absorbency of the LEYCLUB Pottery Tablecloth will then capture excess moisture, reducing adhesion.
Problem: Tools become dull after repeated use.
Solution: Sharpen stainless-steel tips with a fine-grade sharpening stone. Avoid soaking the tools for more than 1.5 hours as recommended, because prolonged exposure can cause rust.
Conclusion
By applying the space-saving layout, organized tool sets, and structured lesson plan outlined above, one can deliver high-quality pottery instruction in even the smallest of studios. The recommended equipment – from the versatile Blisstime 42-Piece Pottery Tool Kit to the durable LEYCLUB Pottery Tablecloth – supports efficient workflow, safety, and creative expression. Implement these practices and watch students flourish while the studio remains orderly and inviting.
Products Mentioned in This Guide
Frequently Asked Questions
How can I maximize limited studio space for pottery classes?
Use vertical storage, fold‑down work tables, and mobile carts to keep tools accessible yet out of the way.
What essential equipment is needed for a small‑space pottery classroom?
A compact work surface, basic hand‑building tools, a small electric kiln or tabletop firing unit, and organized storage bins.
How should I organize lesson plans to fit a compact workspace?
Structure lessons around one‑at‑a‑time stations, focusing on hand‑building before wheel work to reduce simultaneous equipment needs.
What safety considerations are important in a small pottery setup?
Ensure proper ventilation for glaze fumes, keep fire‑resistant mats under the kiln, and maintain clear aisles for quick evacuation.
How can I store tools and supplies efficiently in a tiny studio?
Utilize stackable trays, wall‑mounted pegboards, and labeled drawer units to keep items visible and easily reachable.